.jpeg)
Pool restoration

STEP 1
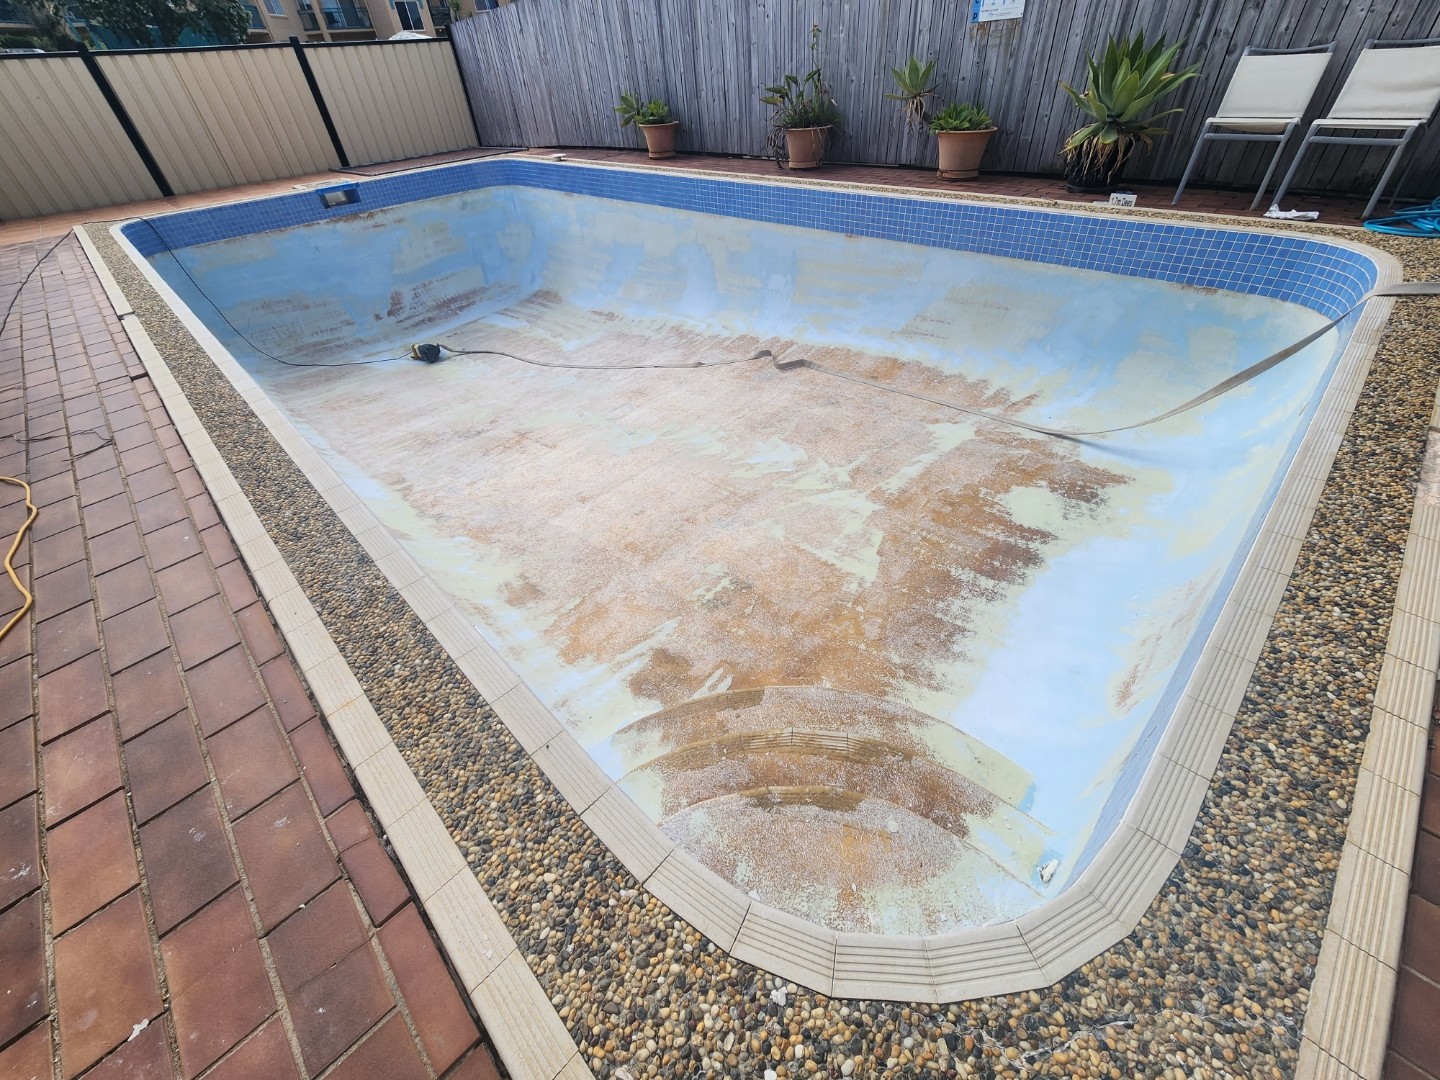
Substrate Remove any of the substrate or surface material, including patching or foreign materials.
If there are cracks in the substrate, use a concrete grinder, to cut them out and extend the cut-out at least 1 inch beyond both ends of the original length of the crack. Make sure to wear safety gloves and goggles when working with a grinder.
Then, with your chisel and hammer, make some pock marks in the pool's surface. These holes will help patching material bond better to the pool's new surface.
STEP 2
Although you will be able to easily spot cracks in the pool's surface, it may not be as easy to identify spots where the outer plaster has separated from the shotcrete or gunite beneath it.
If these spots exist, they will most likely separate completely over time. It is best for you to repair these potential trouble spots while you are repairing your pool's surface.
STEP 3
Clean the Substrate Surface, clean all dust, grit, and concrete pieces off the surface you are repairing. Then cover the surface with an acid rinse.
Warning: Working with acid is
dangerous if the proper safety precautions are not taken.
Read the product’s directions thoroughly and wear rubber gloves, boots, splash-safe eye goggle, and an approved respirator for acid fumes.
Also, note that you should never add water to acid; always add acid to water. If you reverse this process, you could burn your skin via an explosive reaction.
STEP 4
Fill Cracks and Depressions: Fill the crack with caulk, leaving a space of 1⁄4 inch between the caulk and the top of the crack.
This will allow you to later apply plaster without creating uneven places on the surface. When finished with the caulking, let it dry for 24 hours.
STEP 5
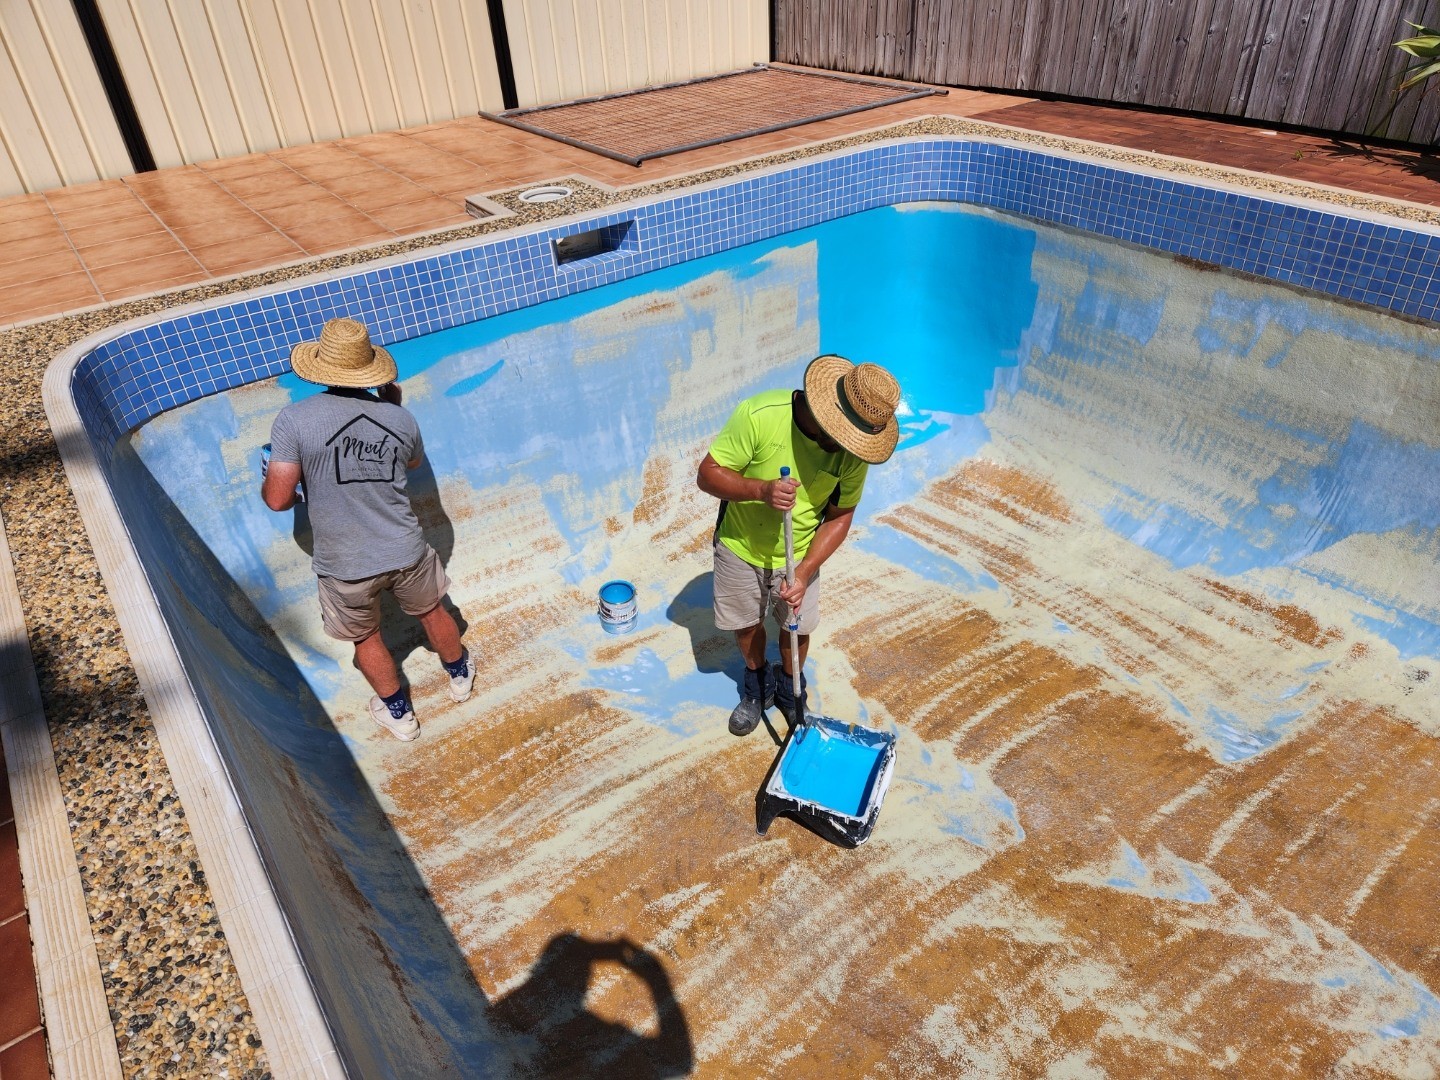
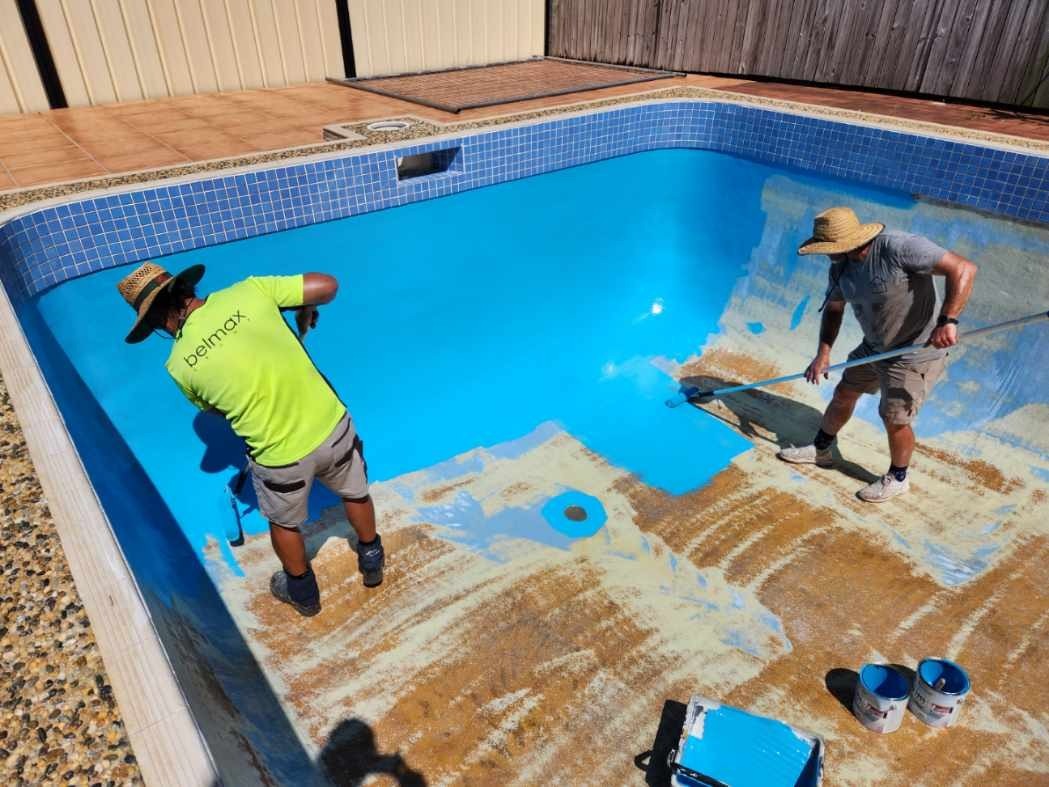
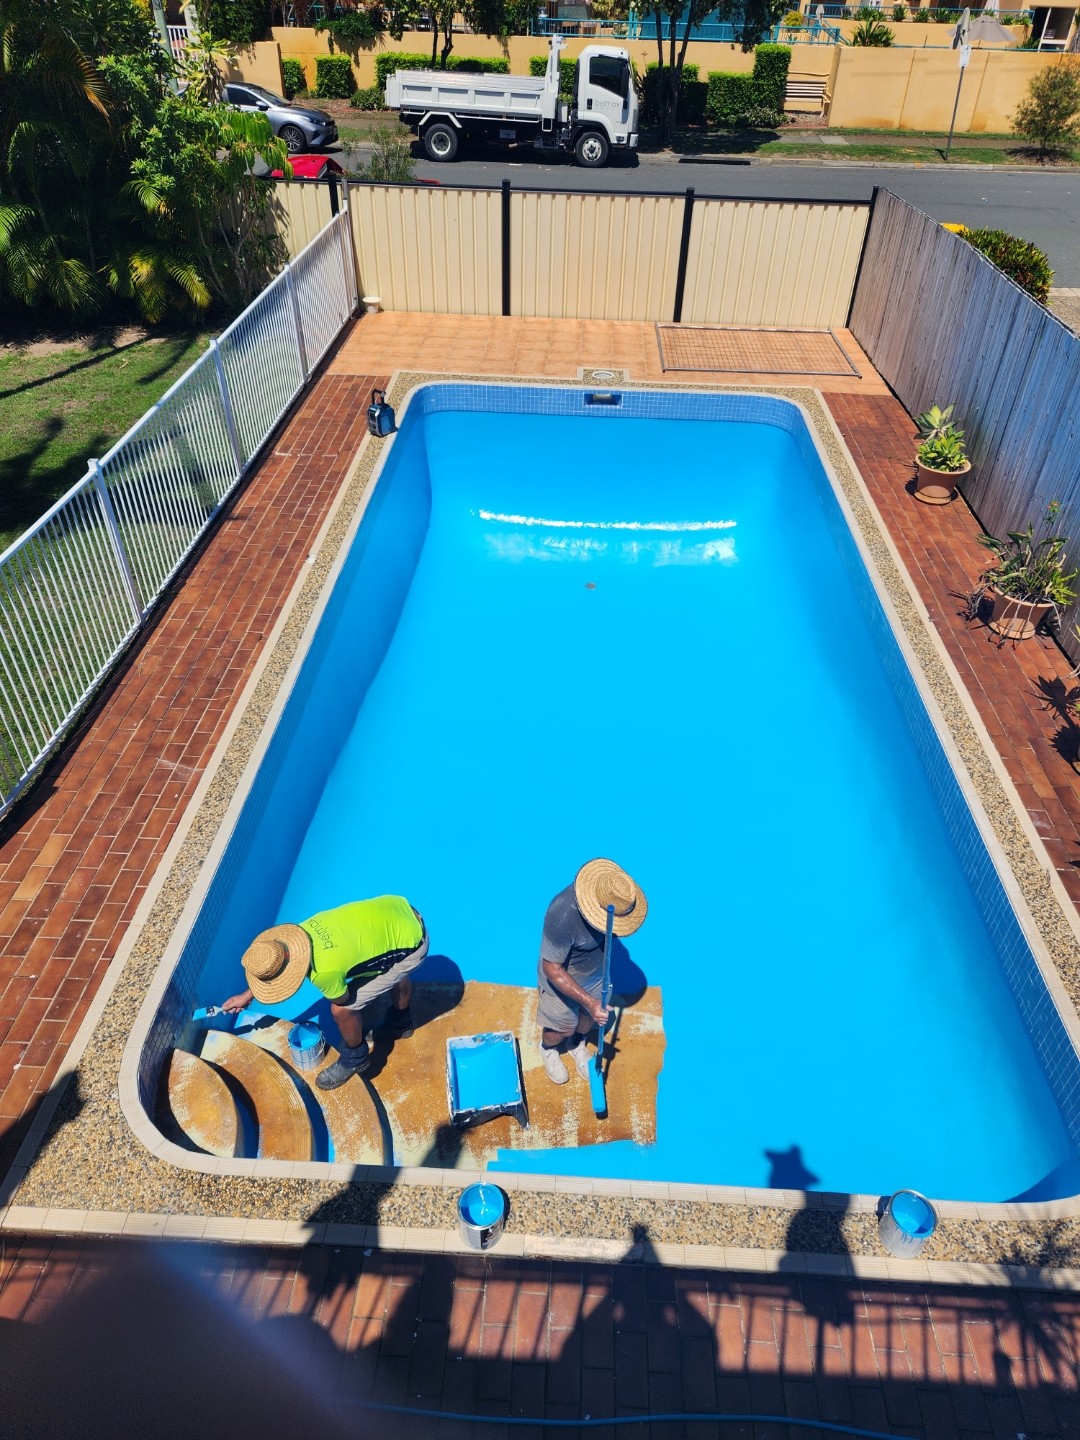
Apply a Fill Mixture: Apply a mixture of white concrete, white sand, acrylic cement bonding agent, and enough water to create a mixture as thick as a thin putty.
With your trowel, force the mixture into all divots, holes, and corners, being careful to force out any air bubbles.
Use your trowel to smooth the mixture over the surface until the surface is level and smooth. Wait until the mixture has begun to set up, about 15 minutes, before smoothing the surface again with your trowel.
STEP 6
Texture the Surface: If the old surface has a texture that is rougher than your newly patched area, you will want to match the textures while your newly patched spot is still wet.
You can do this by texturing the area with a damp sponge. Now that you have repaired your pool surface, you should fill it with water right away.
If youexpect a delay in filling your pool, spread wet towels over the just-repaired surface.